Sunday, 05 May 2024 06:46 AM
OR
Login using
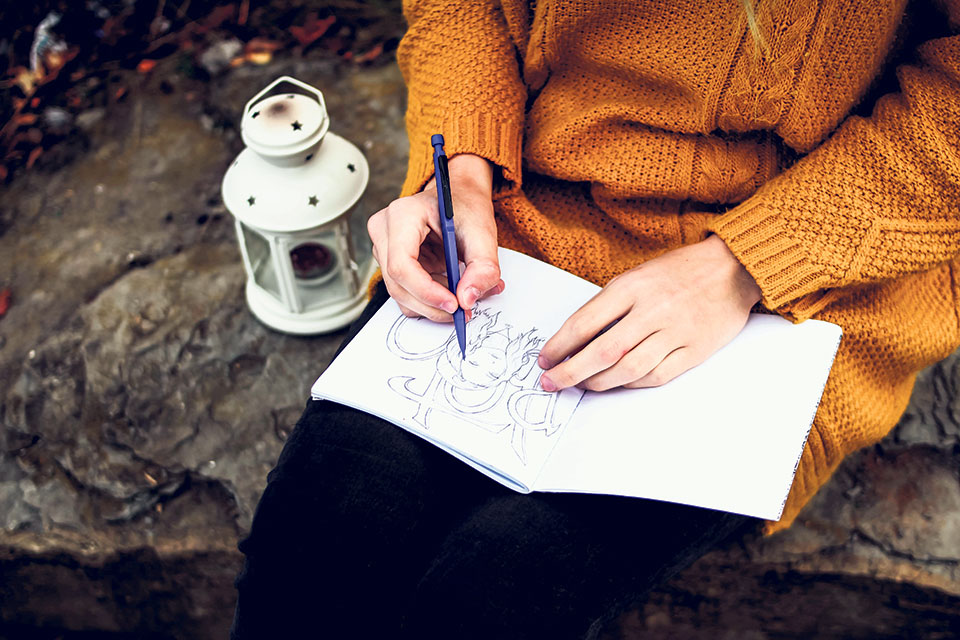
Art’s kinda difficult. Even with motivation coursing through your veins, sometimes you can’t do anything but mess up. Along with talent and inspiration, you need skills and techniques to make that masterpiece.
So to all the beginners out there, here are a few tips.
Pencils matter
There’s a big difference between a normal HB pencil and a 5B one. From the depth of your sketches to the darkness of the shade, pencils play a key role. When you switch your typical lead for charcoal, the final product is vastly different. More noticeable. More prominent.
HB pencils are a good starting place. But at one point, you have to learn how to switch it with different kinds of leads. This way, when you shade, your hand pressure isn’t the only thing that’s being used. Combination of different pencils also helps to create variation in shade which plays a key role in your sketch.
Shading correctly
You can find hundreds of tutorials on it. And they exist for a reason. A sketch with no shading, or a correct form at that, is like food with no taste. It serves no purpose. Shading—specifically realistic shading—requires a lot of practice and knowledge.
One of the most helpful things, as aforementioned, is the use of correct pencils and hand pressure. Squinting your eyes to see the shade differences is another helpful tactic.
The other is the manipulation of lights. It’s quite simple in theory. Light comes one way, shadow goes the other. But try putting it on paper and it’s more than challenging. At first. So keep practicing until you perfect it.
Controlled smudging
A sad reality that every artist has faced—the unexpected smudging. You get a mini heart attack when all that you’ve worked on is suddenly wiped away to dirty your masterpiece. And it’s all done by your own hand.
There’s an easy and simple solution to this. Use a piece of paper and place it right under your palm when you’re sketching. It doesn’t completely stop the smudging but it controls it to a large extent. Since smudging doesn’t just happen in sketches, you should also use this technique while using colors to fill your drawings. Better safe than sorry.
Start with bigger shapes
If you’re a beginner, this would be a universal recommendation. Start with the bigger object. If you’re sketching a portrait, start with the shape of the face. If you’re drawing a house, start with the outline of the building.
Penciling the biggest shape gives a structure to your drawing. This way, even if you mess up later on, you can always figure out where you’ve gone wrong and fix it. It’s a lot better than starting from detailed, small objects then transforming it into something that doesn’t fit right or looks off and having to erase everything.
However, if starting small and going big is something that you find most comfortable or if you are confident about your skills, this factor is changeable.
Pause and check
The outline of your sketch plays a key role on how your final piece looks. So it needs to be exactly how you envisioned it. When you’re drawing, always stop and look to make sure it matches the picture in your head.
Distance helps a lot too. Keep your canvas a few meters away and stare at it. This way, you’re more likely to find out where and how you’ve gone wrong. It’s always good to check from the start. Every 15-20 minutes, go back to looking at it.
Keep doing this when you’ve started filling out the blank spots. It helps with color coordination, shading and painting as well.
Use grids
Using graph lines or grids is extremely useful for beginners, specifically when it comes to drawing a carbon copy of a picture. Place gridlines on the photograph. Place gridlines of similar measurement on your drawing sheet. This way, outlining is more convenient and accurate.
As you become more and more skilled, you can start removing those gridlines one at a time. Eventually, you can make do with just one horizontal and one vertical line. Remove that and it might get tricky. But you know the starting point and the ending point, and slowly you’ll be able to perfect your drawing without using any of those grids.
Start with black and white pictures
Black and white pictures are a lot easier to outline. They give stark contrast on where the lines should be without the confusion that colors bring. If you’re relying on a picture for sketching, seeing the shadows and shade transformation is also more convenient in a black and white picture.
In the absence of color, copying the picture through handwork is not just less challenging but also more accurate. It gives you an outline of where to switch pencils and colors, where to apply more hand pressure, and where to only skim lightly with pencils. So, a colorless picture is a go-to resource for beginners
You May Like This
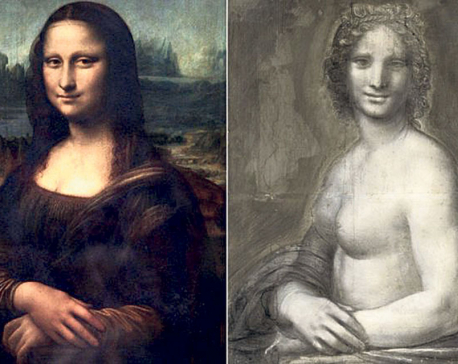
Is 16th-century charcoal sketch a naked Mona Lisa?
PARIS, Oct 5: A French art expert believes a charcoal drawing kept in a collection for more than 150 years may... Read More...

Souls of My City: Travelling for good
Amar Nachsahani, 35, repairs generators and water pumps. He is from Patna, Bihar. He arrived in Kathmandu three years ago. He... Read More...

Easy ways to develop leadership skills at work
Just start with simple conversations and build from there.Take the time to really get to know your company, its history,... Read More...


Just In
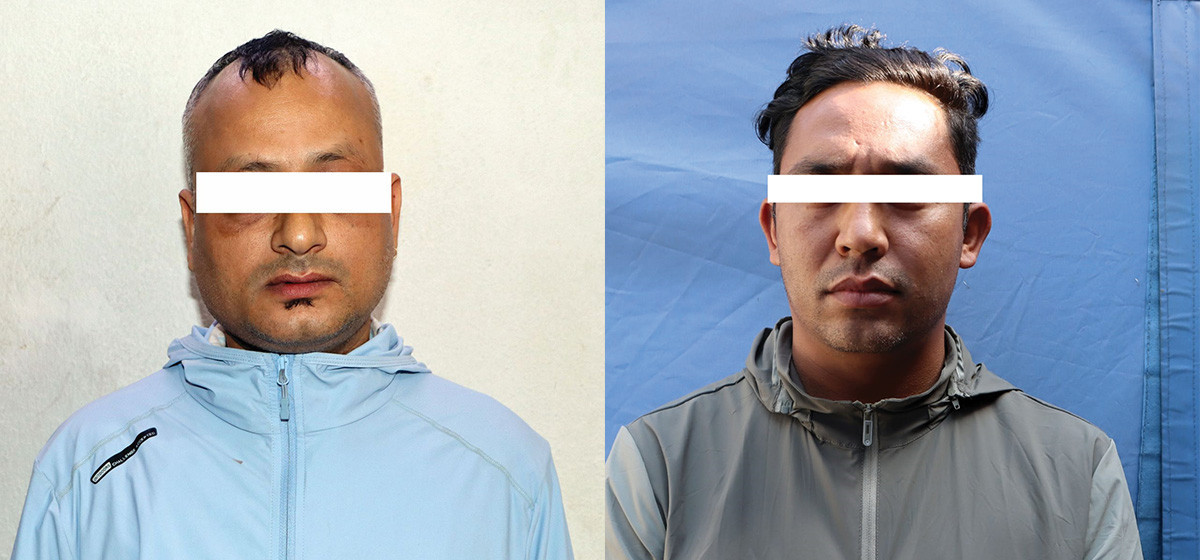
- Police arrest individuals for defrauding Rs 30 million from 219 individuals misusing discovered citizenship
- FNJ demands full press freedom, announces election on June 8
- Price of gold and silver experiences fluctuations throughout this week given instability of conflict in Middle East region
- 73 succumb to tobacco consumption every day
- In Pictures: Preparations underway for Rato Machindranath chariot procession at Lalitpur
- Meeting called by Sudurpaschim CM Sodari to seek vote of confidence postponed
- Stock Analytics Software ‘gaining popularity’ in Nepal
- Health Ministry warns of action against health facilities running illegally
Leave A Comment